Second attack on the Hauptkampflinie, June 26th, 20:00
The Germans have retaken the Hauptkampflinie and time has run out for the British to win the campaign. Now there is only the hope of limiting the Germans to a minor victory. The first step in doing that is retaking Fontenay.
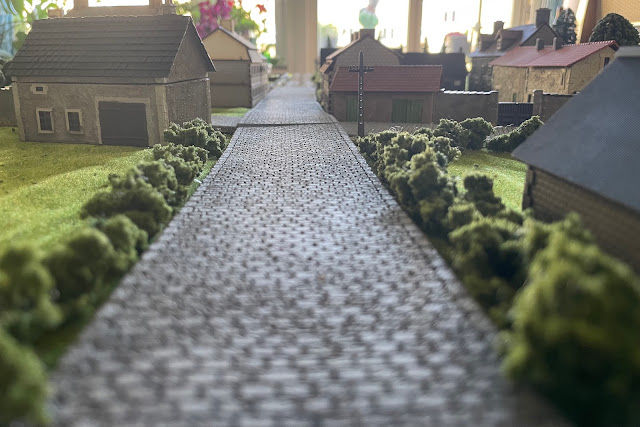
The view from the German side. The rumbling of heavy tank engines can be heard in the distance...
This is the 10th battle in our Operation Martlet campaign. The British have consolidated their scattered forces and are basically one section short, but have good support from HQ. The Germans are just one man short.
Forces
British platoon
- Lt Featherstone
- Plt Sgt Yates
- Lt Mortar, 2 men
- Piat, 2 men
- Section 1, Cpl Barker, 3 man Bren team, 7 man rifle team
- Section 2, Cpl Grant, 3 man Bren team, 6 man rifle team
Opinion
- CO's opinion: Reduced from 1 to -2.
- Own opinion: Reduced from Sad to Confused.
- Men's Opinion: Remains -7.
This gives a total of -3 to the Force Morale roll.
Support (21)
- AVRE (7)
- AVRE (7)
- AVRE (7)
Yes, three AVREs are supplied for the attack. Since there are three of the same/similar vehicle, it constitutes a platoon and one of the vehicles is commanded by a Senior Leader.
German platoon
- Obersturmführer Dr Otto Hahn, Senior Leader, SMG
- Scharfürer Frey, two 3-man MG teams, 3 panzerfausts
- Unterscharfürer Schneider, one 3-man MG team, one 2 man MG team
- Scharfürer Wegner, two 3-man MG teams, 3 panzerfausts
- Scharführer Lange, Panzer IV
Opinion
- CO's opinion: +6
- Own opinion: Merry
- Men's opinion: +5
This gives +2 Force Morale and +2 Force Support.
Support (10)
- Extra Senior Leader (2) - Oberscharführer Knaust
- AVF entrenchment (2)
- Panzerfaust x3 (3)
- Adjutant (1)
- Entrenchment (1) + one free entrenchment for starting with the initiative but not attacking
Patrol phase and Jump Off Points
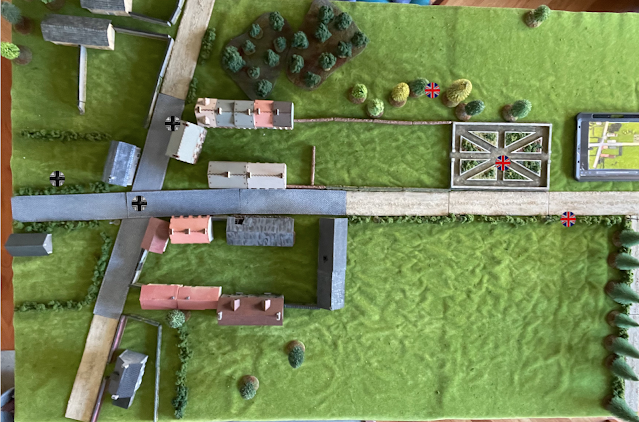
The British JOPs are slightly more forward this time, and the Germans focus on the crossroads and neighbouring buildings.
The Battle
Amazingly, the British roll '6' for Force Morale and the German rolls '1', giving both a Force Morale of 9. Good new for the British!
Early game
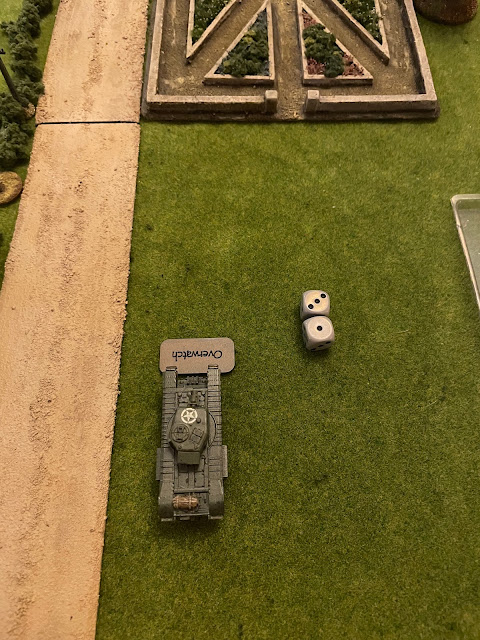
The first AVRE arrives...
Instantly a shot rings out! A Panzer IV was hidden in a trench in the courtyard.
Lady Luck is with the British, and the AT round misses despite the clear shot.
The first AVRE speeds forward and a second one arrives.
The British light mortar squad deploys in the formal garden and fires smoke to block fire from the Panzer. Just like the previous battle the shot scatters, this time to the right instead of the left. The poor light mortar keeps getting its crew killed, and the replacements are obviously not trained enough.
Meanwhile, Schneider's squad has deployed in trenches overlooking the main road. They are accompanied by Obersturmführer Hahn.
Schneider's squad opens fire on the poor mortar team. One is killed by the incoming fire, the other decides to regroup to the right, but fails to get out of sight.
Bringing up the rear of the armoured column, it's the AVRE platoon commander. The poor remaining mortar man is by the small gate.
The remaining mortar crewman is gunned down by Schneider's squad.
The Panzer IV shoots as rapidly as it can. The left AVRE has had its transmission damaged while the one on the right gets a damaged gun sight. Damaged and slightly shaken they roll forward and Scharführer Lange starts feeling a bit uncomfortable. "Obersturmführer Hahn, we might need some help extracting ourselves from this situation."
With a roll of 11 an AVRE scores a direct a hit on the hull down Panzer! Not enough to knock it out but the gunner is killed.
The Panzer backs out of the trench but does not quite make it out of the courtyard of death... A scout team and Oberscharführer Knaust deploy in the trench and lob a smoke grenade to give some cover to their mate.
Mid game
One more AVRE shot hits the Panzer before it gets away. It's not enough to knock it out this time either, and it makes a lucky escape. The poor scout team and Knaust are somewhat stuck however, since the British have accumulated a CoC dice. Moving about in the open when a flying dustbin can land nearby any second is not a good idea.
The Panzer IV has joined the grenadiers hoping to snipe any AVRE that looks around the corner when it eventually gets the radioman to the turret so that he can assist the loader with the gun.
Realising they will soon be in the sights of an AVRE or two, Hahn and Schneiders squad rush into the inner courtyard on the German right.
Hahn and Schneider in the courtyard pictured from above.
Late game
Hahn and Schneiders squad take positions overlooking the path the British infantry need to advance. However, they will soon risk coming under AVRE fire.
The AVREs roll forward vs the pinned scouts and Knaust. A British scout team arrives, ready to eventually move forward to prevent ambushes after the AVREs have finished the business with the men in the AFV trench.
The British now have 2 CoC dice working on a third while the Germans have none.
German withdrawal
Realising that they are going to be taking high casualties including officers with little chance of preventing the British advance, the Germans decide to fall back sooner rather than too late.
Post Battle
Finally some success for the British! Very few losses and if they can win the next battle it will only be a minor victory for the Germans.
British
Losses
1 man KIA and 1 man WIA, just like last battle. The position as light mortar crew is starting to be unpopular.
Opinion
- CO's opinion: Improved from -2 to 0.
- Own opinion: Improved to Content.
- Men's Opinion: Improved from -7 to -6.
Germans
Losses
- 1 KIA
- 3 wounded/scattered who miss out on the next battle.
Opinion
- CO's opinion: Down from +6 to +5
- Own opinion: Changed from Merry to Cheerful
- Men's opinion: Improved from +5 to +6


Good stuff. I love the pint sized campaigns and this is one of my faves
ReplyDeleteYes, every map is really a challenge.
Delete